Your Trusted iPhone Data Recovery Tool
Free scan and selective preview of 25+ data types like messages, photos, and WhatsApp. No data overwritten — recover only what you need.
Free scan and selective preview of 25+ data types like messages, photos, and WhatsApp. No data overwritten — recover only what you need.
Need to transfer pictures between iPhones? Learn the 7 best ways to transfer photos from iPhone to iPhone, using AirDrop, iCloud, iTunes, apps, and more. An ultimate guide for you!

Jason Kim 30/04/2025
SHARE THIS


Gbyte recovers 25+ types of lost iPhone data in minutes
100% secure. Your data always stays private.
Need to transfer pictures between iPhones? Learn the 7 best ways to transfer photos from iPhone to iPhone, using AirDrop, iCloud, iTunes, apps, and more. An ultimate guide for you!
Jason Kim 30/04/2025
SHARE THIS
Upgrading to a new iPhone or simply sharing memories with family? One of the first things you’ll want to do is transfer your photos. Luckily, there are several easy ways to move your pictures from one iPhone to another — whether you prefer a wireless method or a wired backup. In this guide, I’ll walk you through 7 simple methods to transfer photos from iPhone to iPhone without losing any quality.
Before diving into the details, here’s a quick overview of each method’s strengths and ideal use cases to help you pick the best option:
Method | Best For Scenario | Speed | Quality | Convenience | Limitations |
Quick Start | Transferring all data to new iPhone | Fast | Full | High | No selective transfers |
AirDrop | Selected photos quickly | Instant | Full | High | Short-range, small batches |
iCloud Photos | Automatic sync across devices | Slow | Full | Very High | Storage limits require Wi-Fi |
Messages/Email | Sharing a few photos instantly | Fast | Compressed | Medium | Size limits, quality reduction |
Cloud Storage | Large batches without cables | Medium | Varies | Medium | May compress, and requires upload |
Third-Party Tools | Selective transfers or broken phones | Fast | Full | Low | Requires computer, security risk |
When upgrading to a new iPhone, Apple provides multiple ways to transfer your data—including your precious photo library. While iCloud backups and your Apple ID offer a seamless way to migrate your information, there’s an even quicker and more direct method: Quick Start. This feature allows you to transfer everything—photos, apps, settings, and more—directly from your old iPhone to your new one without relying on cloud storage.
Quick Start uses a local wireless connection to securely transfer data between your old and new iPhones. Here’s how to use it:
Prepare Both Devices: Ensure your old iPhone is unlocked and Bluetooth is enabled. Place it near your new iPhone.
Initiate the Transfer: Turn on your new iPhone, and a Quick Start prompt will automatically appear on your old device.
Authenticate & Connect: Follow the on-screen instructions, which may include scanning an animation with your old iPhone’s camera or entering your passcode.
Select Transfer Preferences: Choose whether to restore from an iCloud backup or transfer data directly. For photos, select "Transfer from iPhone" as the fastest method.
Complete Setup: Keep both devices near each other until the transfer finishes. The time required depends on how much data you’re moving.
While Quick Start is convenient, it has a few drawbacks:
Requires Both iPhones to Be Functional – If your old iPhone is damaged or won’t turn on, you’ll need to rely on an iCloud or computer backup instead.
No Selective Transfer – Unlike manual iCloud or iTunes backups, Quick Start moves all data at once—you can’t pick and choose which photos or apps to transfer.
Storage Constraints – Your new iPhone must have enough free space to accommodate everything from the old device. If storage is tight, you may need to delete files first.
Both Devices Must Stay Nearby – If the iPhones are moved too far apart during transfer, the process may fail or stall.
Slower Than Wired Options – While faster than iCloud for large libraries, a wired transfer (via a Lightning/USB-C cable adapter) could be quicker for some users.
Keep both iPhones plugged in – Large transfers can drain the battery quickly, so connect both devices to power to avoid interruptions.
Stay on Wi-Fi – While Quick Start doesn’t rely on iCloud, a stable Wi-Fi connection ensures the fastest transfer speeds.
Be Patient for Large Libraries – If you have extensive media files, the process may take some time. Avoid using either device during the transfer.
AirDrop is the fastest way to move photos between iPhones when you only need to transfer select images rather than your entire library. Built into every iPhone, this wireless feature lets you send high-quality photos and videos in seconds, with no compression or storage limits. Whether you're transferring a few favorite shots or hundreds of memories, AirDrop keeps the process fast, simple, and secure.
No Quality Loss – Photos and videos are sent in full original resolution.
No Internet Needed – Works offline as long as Wi-Fi and Bluetooth are on. Selective Transfers – Unlike full backups, you choose exactly which photos to send.
Before you begin, ensure both iPhones are within close range (ideally within 10 feet) and have Wi-Fi and Bluetooth enabled—AirDrop uses these to create a direct, encrypted connection. Here’s how to do it:
Turn on AirDrop:
Open Control Center (swipe down from top-right).
Long-press the network settings card.
Tap AirDrop and select "Contacts Only" or "Everyone."
Select your photos:
Open Photos on your old iPhone.
Tap "Select" and choose photos to transfer.
Tap the Share button.
Send and accept the transfer:
Tap the new iPhone's name in AirDrop.
Accept the transfer on the new iPhone.
Short-Range Only – Both devices must stay close (within 30 feet) for a stable connection.
Not Ideal for Large Batches – Transferring thousands of photos one by one can be tedious.
Keep both devices close with Wi-Fi/Bluetooth on for best results.
Keep Screen Active – If either iPhone locks, the transfer may pause or fail.
Check Storage Space – Ensure your new iPhone has enough free storage for incoming photos.
Restart if Stuck – If AirDrop doesn’t detect the other device, toggling Bluetooth/Wi-Fi off and on usually helps.
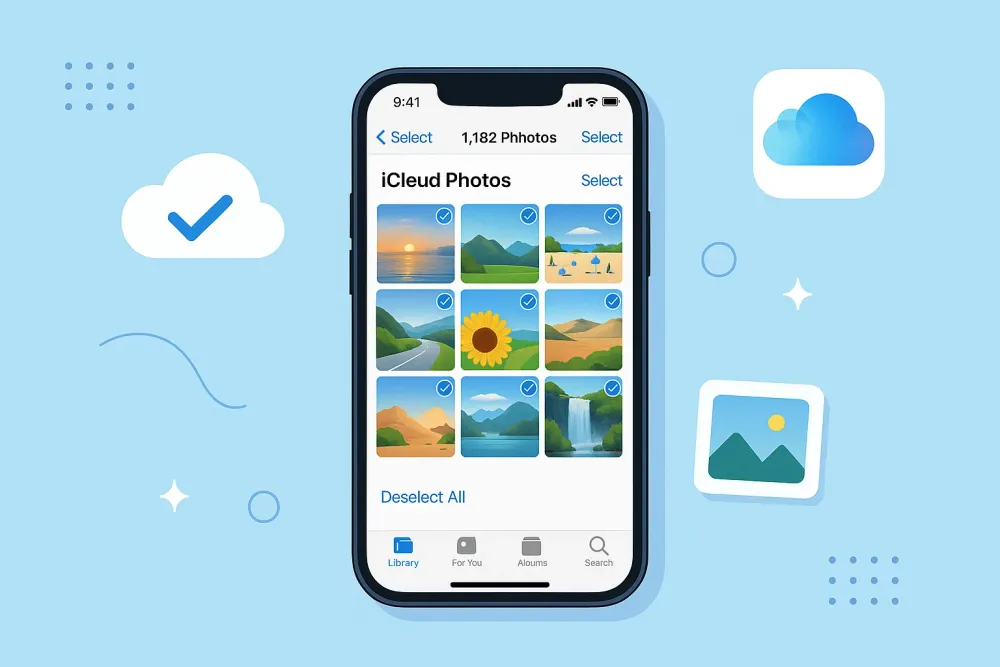
If you prefer a hands-off approach that doesn’t require manually selecting and transferring photos, iCloud Photos is the perfect solution. This method ensures that all your pictures seamlessly sync across your Apple devices, keeping your entire library up to date without any extra effort.
Go to Settings > [your name] > iCloud > Photos.
Turn on iCloud Photos on both devices.
Connect both iPhones to Wi-Fi and ensure they are charging (for faster syncing).

Once activated, your photos will automatically upload to iCloud and sync to your new iPhone. Depending on your library size and internet speed, this may take some time—especially if you have thousands of photos. You can check progress by opening the Photos app and looking for the upload status at the bottom.
iCloud Storage Limits: Apple provides only 5 GB of free storage, which may fill up quickly if you have a large photo collection. If you run out of space, you’ll need to upgrade your iCloud+ plan (starting at $0.99/month for 50 GB).
Syncing Over Cellular Data: By default, iCloud Photos only syncs over Wi-Fi to avoid excess data usage. If you need to sync while away from Wi-Fi, go to Settings > Photos > Cellular Data and enable it (but be mindful of your data plan).
Sometimes you don’t need to transfer your entire photo library—just a few special memories or important pictures. Whether you're sharing vacation snaps with a friend or sending family photos to a relative, here are the fastest ways to transfer selected photos between iPhones.
The simplest way to share photos instantly with another iPhone user:
Open the Photos app and select the images you want to send.
Tap the Share button (square with an arrow).
Choose Messages, enter the recipient’s name, and hit Send.
Best for: Quick, small batches of photos (iMessage compresses images slightly).
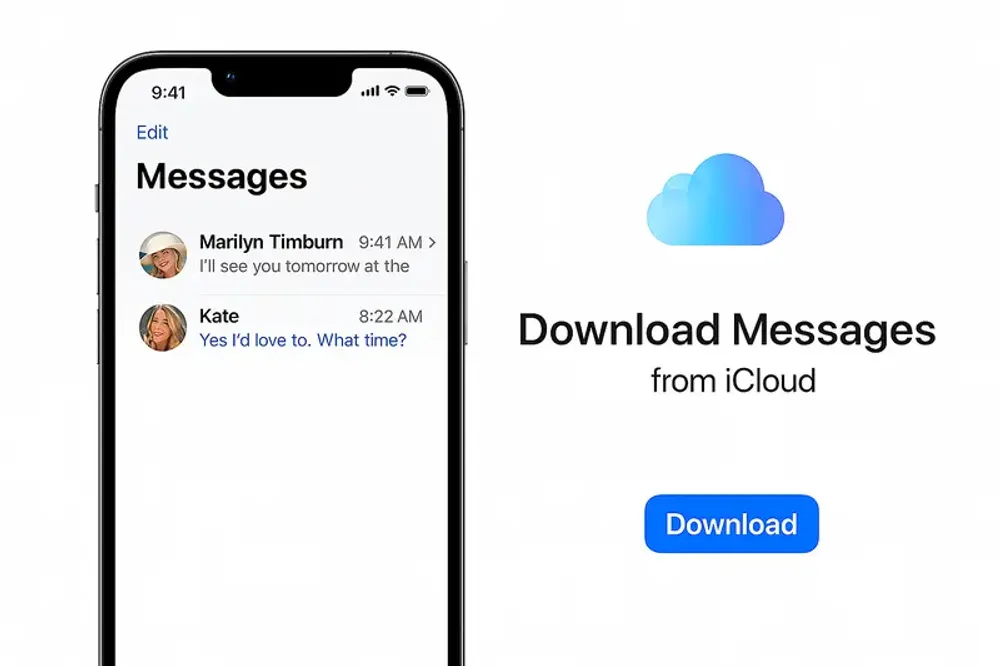
If Messages isn’t an option, email works too:
In Photos, select your pictures and tap Share.
Choose Mail and enter the recipient’s email.
Adjust the image size (Small/Medium/Large/Actual Size) if prompted.
Send! Note: Email services often limit attachment sizes—best for 5-10 photos max.
For larger batches or high-resolution photos:
Upload to your preferred cloud app:
Google Photos: Open the app, tap "+" > Upload, and select photos.
Dropbox/OneDrive: Tap "+" > Upload files, and choose from your gallery.
Share the link or log into the same account on the new iPhone to download. Best for: High-quality transfers without storage limits (though free tiers may compress images).
If the above transfer methods don't meet your needs, professional transfer tools like Dr.Fone offer alternative solutions. These computer-based applications enable direct iPhone-to-iPhone photo transfers with selective file control and faster speeds, though they require installation on a Windows or Mac computer.
When using third-party software, always verify the developer's reputation and review privacy policies to ensure data security, as these tools require full access to your device's storage. These solutions are particularly useful when dealing with large photo libraries or needing more transfer customization than Apple's native options provide.
Do photos lose quality when transferred?
No, using AirDrop, iCloud, iTunes, or reputable apps will maintain the original quality.
Does transferring photos between iPhones cause any data loss?
No, Apple's native transfer methods preserve all data, but if photos go missing accidentally, tools like Gbyte Recovery can restore them from device storage or backups.
Can I transfer photos without Wi-Fi?
Yes, using AirDrop or a wired backup via iTunes doesn't require an internet connection.
What if AirDrop or iCloud isn’t working?
If AirDrop or iCloud fails, try restarting both iPhones, updating iOS, and verifying Bluetooth/Wi-Fi/iCloud settings.
Transferring photos from iPhone to iPhone is easier than ever — whether you prefer wireless methods like AirDrop and iCloud, or traditional backups and more. Pick based on your needs—speed, convenience, or control.