Backing up your Mac is essential to protect your important files, photos, and documents from unexpected data loss. While Time Machine is a popular option, iCloud offers a seamless way to keep your data safe in the cloud—accessible from anywhere. If you're wondering how to backup Mac to iCloud, this guide covers everything you need to know, from basic setup to troubleshooting.
Why Backup Your Mac to iCloud?
Before diving into the steps, let’s talk about why iCloud is a great backup solution:
Automatic syncing – Files update in real-time across all Apple devices.
Accessibility – Retrieve your contacts and other data from any device with your Apple ID.
Security – End-to-end encryption protects sensitive information.
Space-saving – Offloads files from your local storage.
Now, let’s explore the different ways to back up your Mac using iCloud.
How to Backup Mac to iCloud Using iCloud Drive
If you’ve ever used iCloud on your iPhone, you’ll find the process familiar. iCloud Drive acts like a virtual hard drive, storing your files securely in the cloud. Here’s how to set it up:
Open System Settings (or System Preferences on older macOS versions).
Click on your Apple ID at the top (or "iCloud" in older versions).
Select iCloud Drive and toggle it on.

Check "Desktop & Documents Folders" to automatically back up files from these locations.
Pro Tip: If you’re low on iCloud storage, consider upgrading your plan under Apple ID > iCloud > Manage Storage.
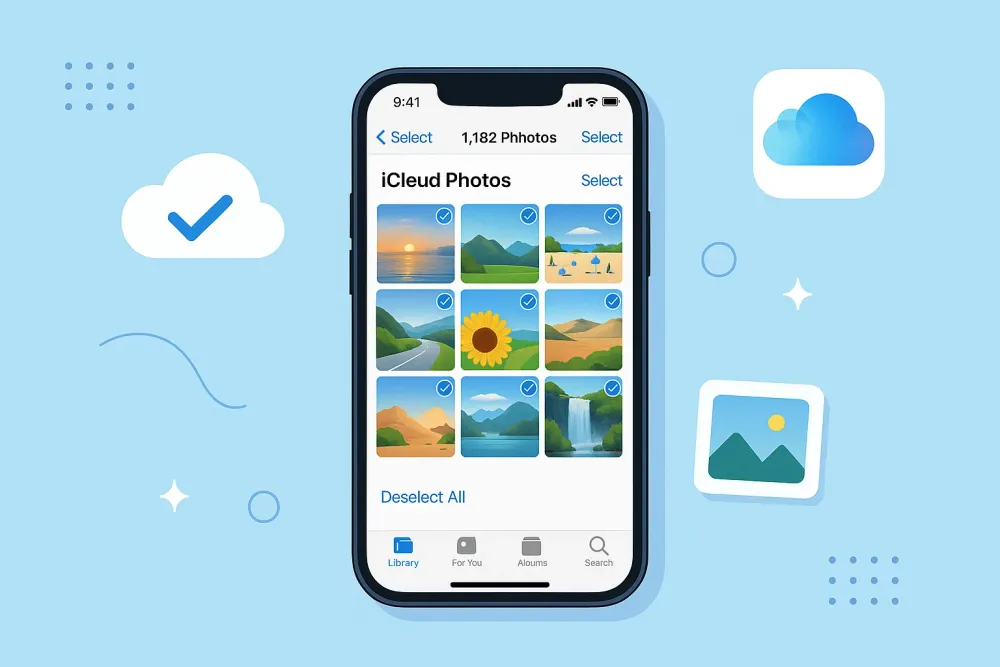
How to Backup Mac Photos to iCloud
Ever lost precious photos due to a hard drive crash? iCloud Photos ensures your memories stay safe. Here’s how to enable it:
Go to System Settings > Apple ID > iCloud.
Click Photos and turn on iCloud Photos.
Choose "Optimize Mac Storage" to save space while keeping full-resolution backups in the cloud.
Now, every photo you take or import will automatically sync to iCloud. If you accidentally delete a photo, you can recover it within 30 days from the "Recently Deleted" album.
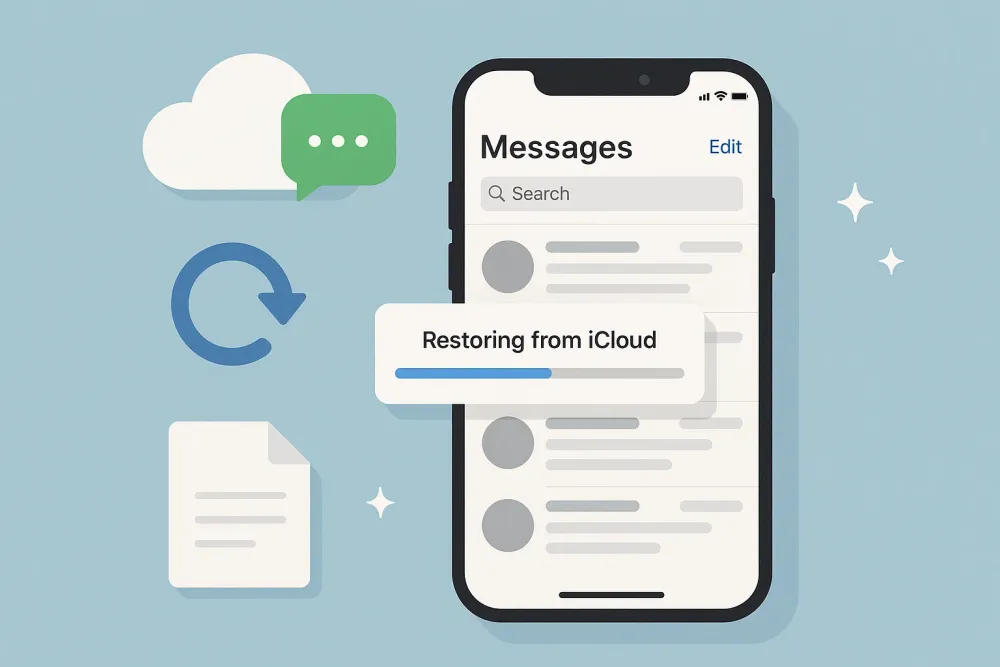
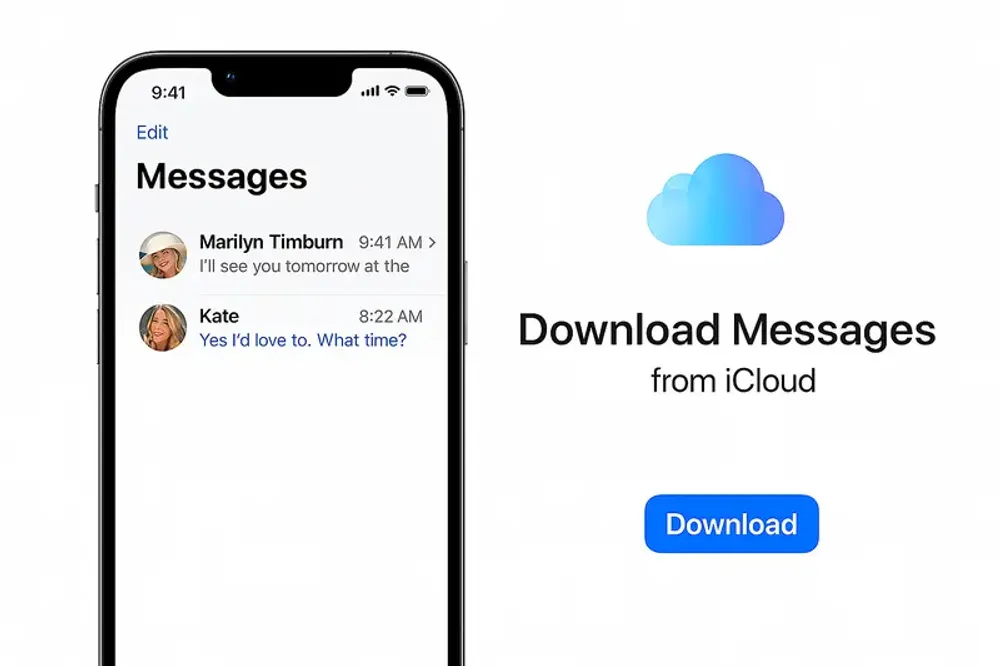
How to Backup Mac Mail, Contacts, and Messages to iCloud
For those who rely on Apple’s built-in apps, keeping your emails, contacts, and events synced is a game-changer. Here’s how:
Navigate to System Settings > Apple ID > iCloud.
Enable Mail, Contacts, Calendars, Messages, and Notes.
Your data will sync across all devices logged into the same Apple ID. And you can view Messages on iCloud.

Bonus: If you ever switch to a new Mac, signing in will instantly restore all your contacts and appointments.
How to Backup Key Mac Folders to iCloud Manually
Not everything syncs automatically, but you can manually move important folders to iCloud Drive:
Open Finder and locate the files or folders you want to back up.

Drag and drop them into iCloud Drive in the Finder sidebar.
Wait for the upload to complete (check the status in the menu bar).
Alternative: Right-click a folder, select "Copy", then paste it into iCloud Drive.
What to Do If iCloud Backup Fails
Sometimes, backups get stuck or fail due to connectivity issues or insufficient storage. Try these fixes:
Check your internet connection (iCloud requires a stable network).
Restart your Mac – A simple reboot often resolves sync issues.
Upgrade iCloud storage if you’re out of space.
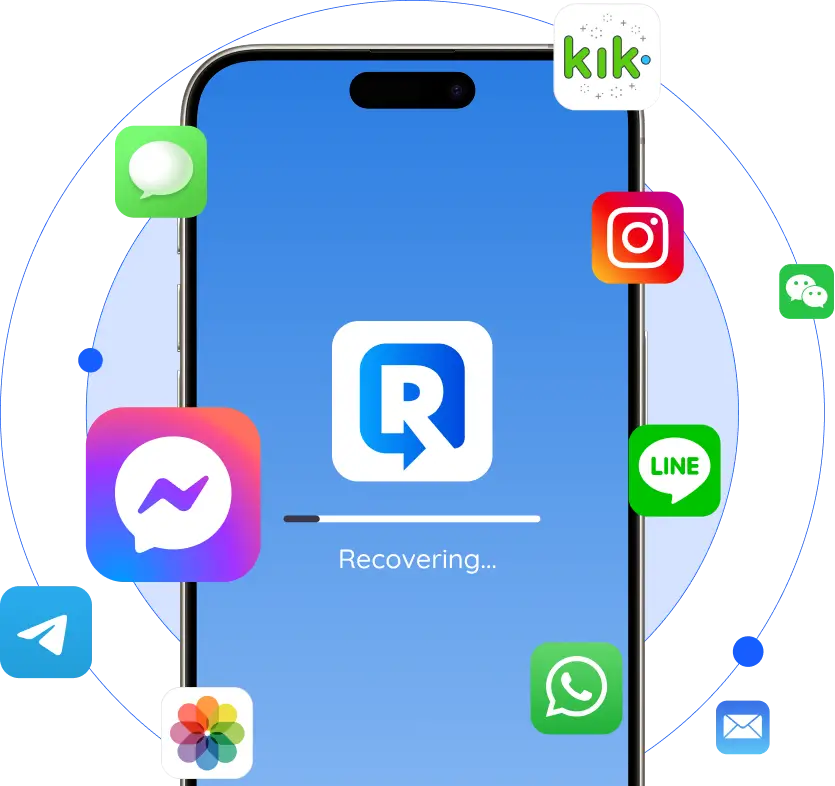
Tools like Gbyte Recovery can help recover deleted files from your local drive if you've lost data due to a failed backup.
Final Thoughts
Now that you know how to back up Mac to iCloud, you can rest easily knowing your files are protected. Whether you rely on automatic syncing or prefer manual uploads, iCloud offers flexible solutions for every user.